How to Fix WordPress Critical Error & Memory Exhaustion (Step-by-Step)
-
August 10, 2026
-
by
Introduction
Few things induce panic quite like walking up to your WordPress dashboard—or worse, your public homepage—and finding it completely offline. Among the most frustrating modern failures is the dreaded “There has been a critical error on this website” notification.
Unlike older versions of WordPress that used to display specific PHP error logs directly on the front end, modern installations hide the underlying issue behind a polite, yet completely unhelpful, generic warning.
As a troubleshooting technician, I recently walked a client back from the brink of a complete site outage. Below is the exact, step-by-step forensic process sequenced chronologically to match our diagnostic workflow—complete with practical methods to maximize information gain for your readers.
Step 1: The Problem — Decoding the “White Screen of Death”
-
Visual Reference: Screenshot showing the standard WordPress “There has been a critical error on this website” message.
When WordPress encounters a fatal PHP error that it cannot recover from, it halts execution immediately to protect the server and your data. This stops the rendering process entirely, resulting in either a blank screen (the classic White Screen of Death) or this generic recovery message.
-
Why it happens: This error is not a single bug; it is a symptom. It frequently occurs immediately after a batch plugin update, during a heavy traffic spike, or when a script initiates a background process that demands more resources than the hosting environment allows.
-
The Information Gain Strategy: Instead of telling readers to “deactivate all plugins via FTP” (the generic advice found on 90% of SEO blogs), teach them how to perform root-cause analysis. Blindly disabling plugins wastes time; diagnosing the exact trigger saves hours.
Step 2: The Diagnosis — Enabling WP_DEBUG
-
Visual Reference: Screenshot of the
wp-config.phpfile opened in a code editor or cPanel File Manager, highlighting the debug flags.
To fix a problem, you first have to see it. By default, WordPress suppresses error reporting to protect sensitive server paths from malicious actors. We need to temporarily turn “on the lights.”
-
Log into your hosting cPanel or connect via FTP/SFTP.
-
Navigate to your website’s root directory (usually
public_html). -
Locate the file named
wp-config.php, right-click to edit it, and look for this line:PHPdefine( 'WP_DEBUG', false ); -
Change
falsetotrue. If the line does not exist, you can add it right above the database settings.
-
The Grounding Method: Explain why this works. You are instructing the PHP interpreter to override its silent-failure mode and print error stack traces directly to the screen or a debug log file.
Step 3: Identifying the Culprit — Memory Exhaustion
-
Visual Reference: Screenshot showing the specific error output:
Fatal error: Allowed memory size of 134217728 bytes exhausted…
With debugging active, reload your website. The generic error message will disappear, replaced by a precise technical readout pointing to the exact file, line number, and cause of the crash.
In our client’s case, the error pointed directly to memory exhaustion:
-
The Math:
134217728 bytesequals 128 MB. -
Plain English Translation: The server allocated a maximum ceiling of 128MB of RAM to process the PHP script. When the site—utilizing heavy modern page builders like Elementor alongside multiple active plugins—attempted to load a complex layout, it slammed into that 128MB ceiling and crashed.
The Librarian Analogy:
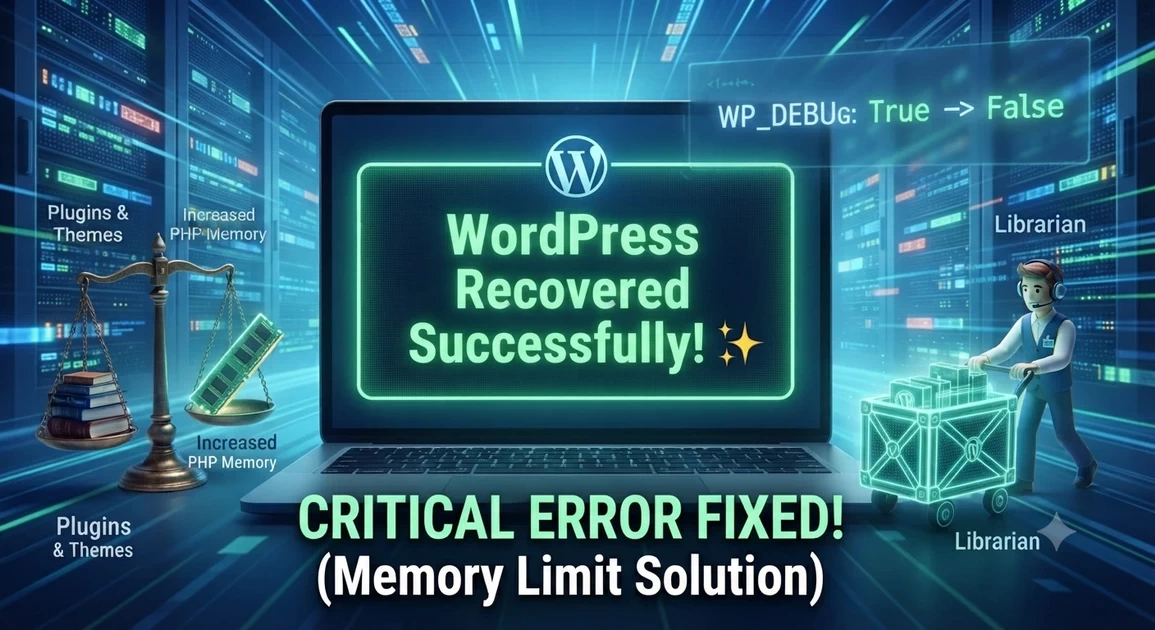
Think of your server’s PHP memory limit like a librarian assigned to carry books to a desk. If the librarian is given a small stack of 128 books, they can manage. But modern websites—loaded with complex plugins, visual page builders, and background cron tasks—suddenly hand the librarian 500 books at once. The librarian collapses under the weight. By increasing the memory limit, we aren’t changing the librarian’s strength; we are giving them a larger cart to carry the load safely.
Step 4: The Solution — Increasing the PHP Memory Limit
-
Visual Reference: Screenshot showing the addition of the memory limit definition in
wp-config.php.
To resolve the memory bottleneck, we need to instruct WordPress to request a larger allocation from the server environment.
-
Keep your
wp-config.phpfile open. -
Scroll down until you find the comment that reads:
/* That's all, stop editing! Happy publishing. */ -
Just above that line, paste the following snippet:
PHPdefine( 'WP_MEMORY_LIMIT', '512M' ); -
Save the file and refresh your website.
-
Why 512M? While older setups ran on 64MB or 128MB, modern database-heavy business websites running WooCommerce, membership portals, or advanced page builders require breathing room. Setting the limit to 512MB provides a safe, professional standard that prevents sudden execution stalls.
Step 5: Cleaning Up — Handling Deprecated Warnings
-
Visual Reference: Screenshot showing “Deprecated” warnings related to a migration plugin.
Once the memory limit is updated, your site will load successfully again. However, you might notice yellow warning text at the top of your pages or dashboard reading something like:
Deprecated: Function create_function() is deprecated…
-
What this means: Do not panic—your site is not crashing. Deprecated notices are simply developer-level advisory warnings. They inform you that an older plugin (such as a migration or backup tool) is using legacy PHP code that is scheduled for removal in future PHP versions.
-
The Fix: Note which plugin is throwing the warning, check for an available update in your WordPress repository, or contact the developer to ensure compatibility with your current server PHP version (e.g., PHP 8.1 or 8.2).
Step 6: Final Step — Securing the Site
-
Visual Reference: Clean code snippet showing
WP_DEBUGtoggled back off.
Leaving debugging active on a live production website is a security risk, as it can expose database structures, plugin paths, and server configurations to public visitors.
-
Return to your
wp-config.phpfile. -
Revert your debug setting:
PHPdefine( 'WP_DEBUG', false ); -
Save and close the file.
Clear your browser and server-side caches, test your checkout or form submission pathways, and your site is officially fully recovered, stable, and secure.
What causes the WordPress “There has been a critical error on this website” message?
This message appears when a PHP script encounters a fatal error and stops executing. Common causes include plugin conflicts, corrupted theme files, or the server running out of allocated memory. click https://bloomings.in/fix-wordpress-critical-error-memory-exhaustion/
Is it safe to leave WP_DEBUG turned on permanently?
No. Leaving debugging active on a live production site is a security risk because it can expose sensitive server paths, database structures, and configuration details to public visitors. Always turn it off once troubleshooting is complete.
Why do modern websites need a higher PHP memory limit like 512M?
Modern WordPress installations frequently run heavy page builders (like Elementor), WooCommerce stores, and multiple background cron tasks simultaneously. Default hosting limits (such as 128MB) are often too restrictive for these heavy resource loads.
-
byBIT
-
August 10, 2026
Tags:
You May Also Like
Sign up to receive our latest updates
[mc4wp_form id=3101]
Get in touch
Address
152A, Annavalaivu, Thuvakudimalai, Tiruchirappalli, Tamil Nadu – 620 022
Landmark : Near Post Office
Landmark : Near Post Office
bloomingtutorial@gmail.com
